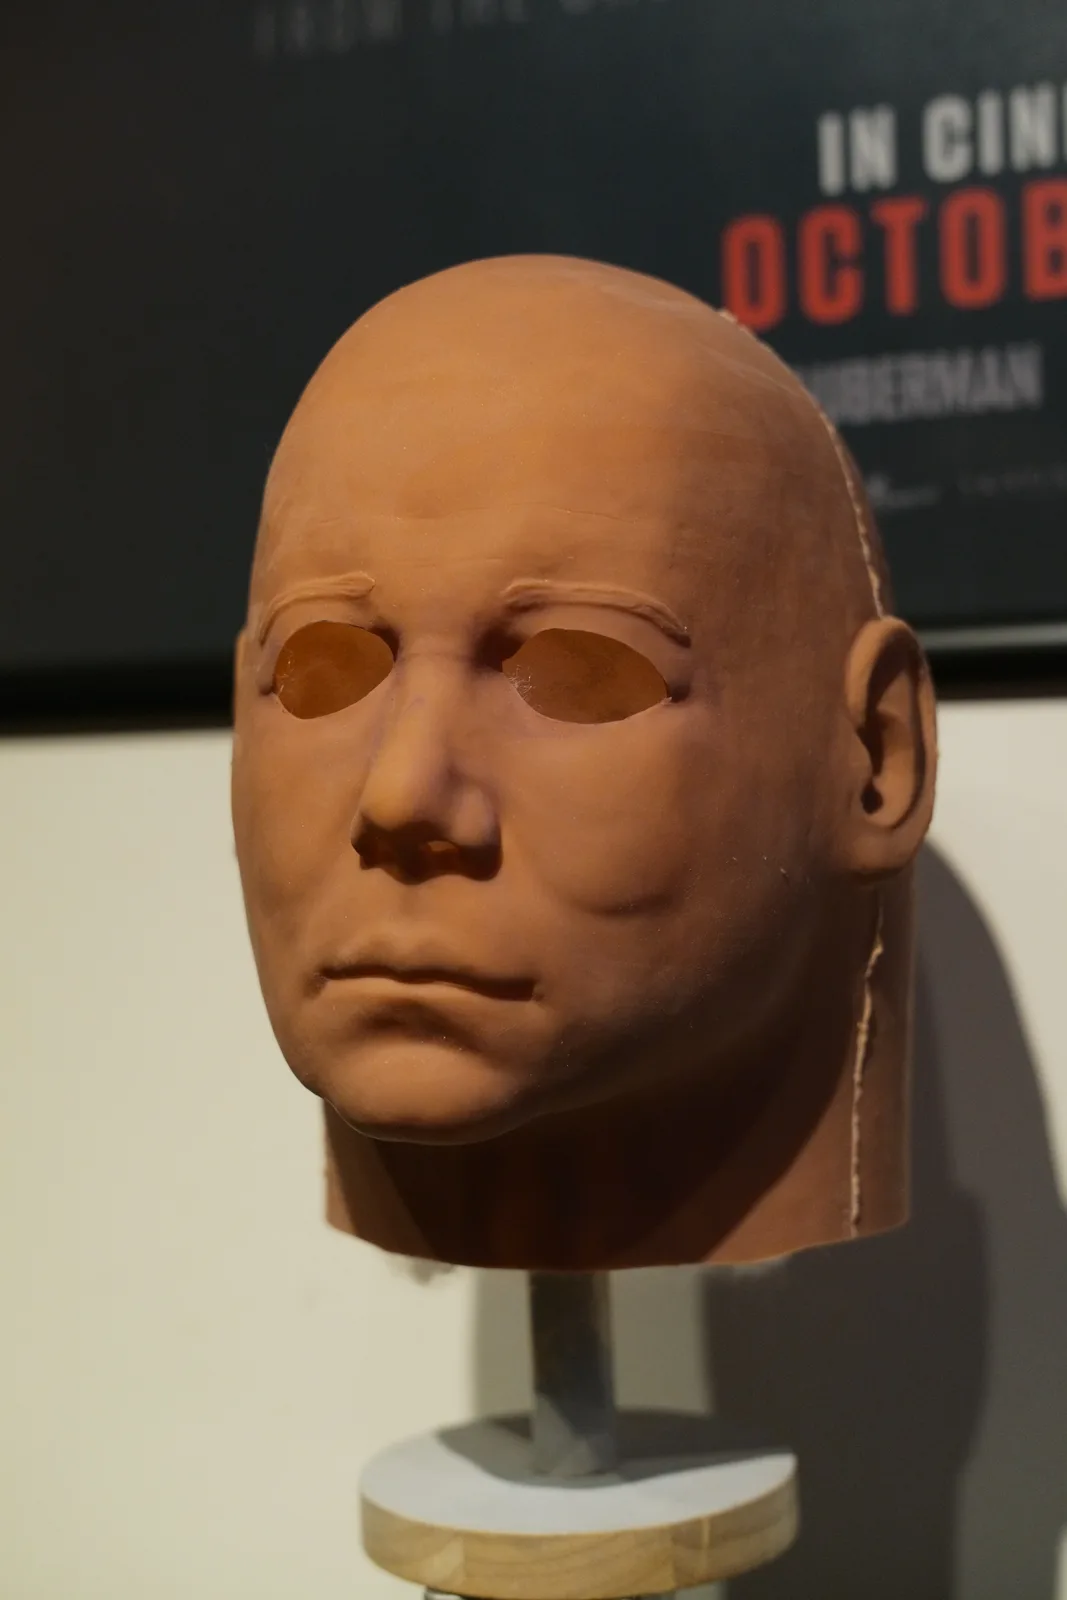
The blank before cuts

Dark Labs Cosmic Shape 78 mask blank from a three-quarter right angle before eye cuts
The Cosmic Shape 78 blank before the eye cuts, viewed from a three-quarter angle.
Dark Labs Cosmic Shape 78 mask blank front view before eye cuts
Front view of the blank, with the face shape and brow still intact.
Dark Labs Cosmic Shape 78 mask blank from a three-quarter left angle before eye cuts
Opposite angle for checking the cheek, brow and head shape before cutting.

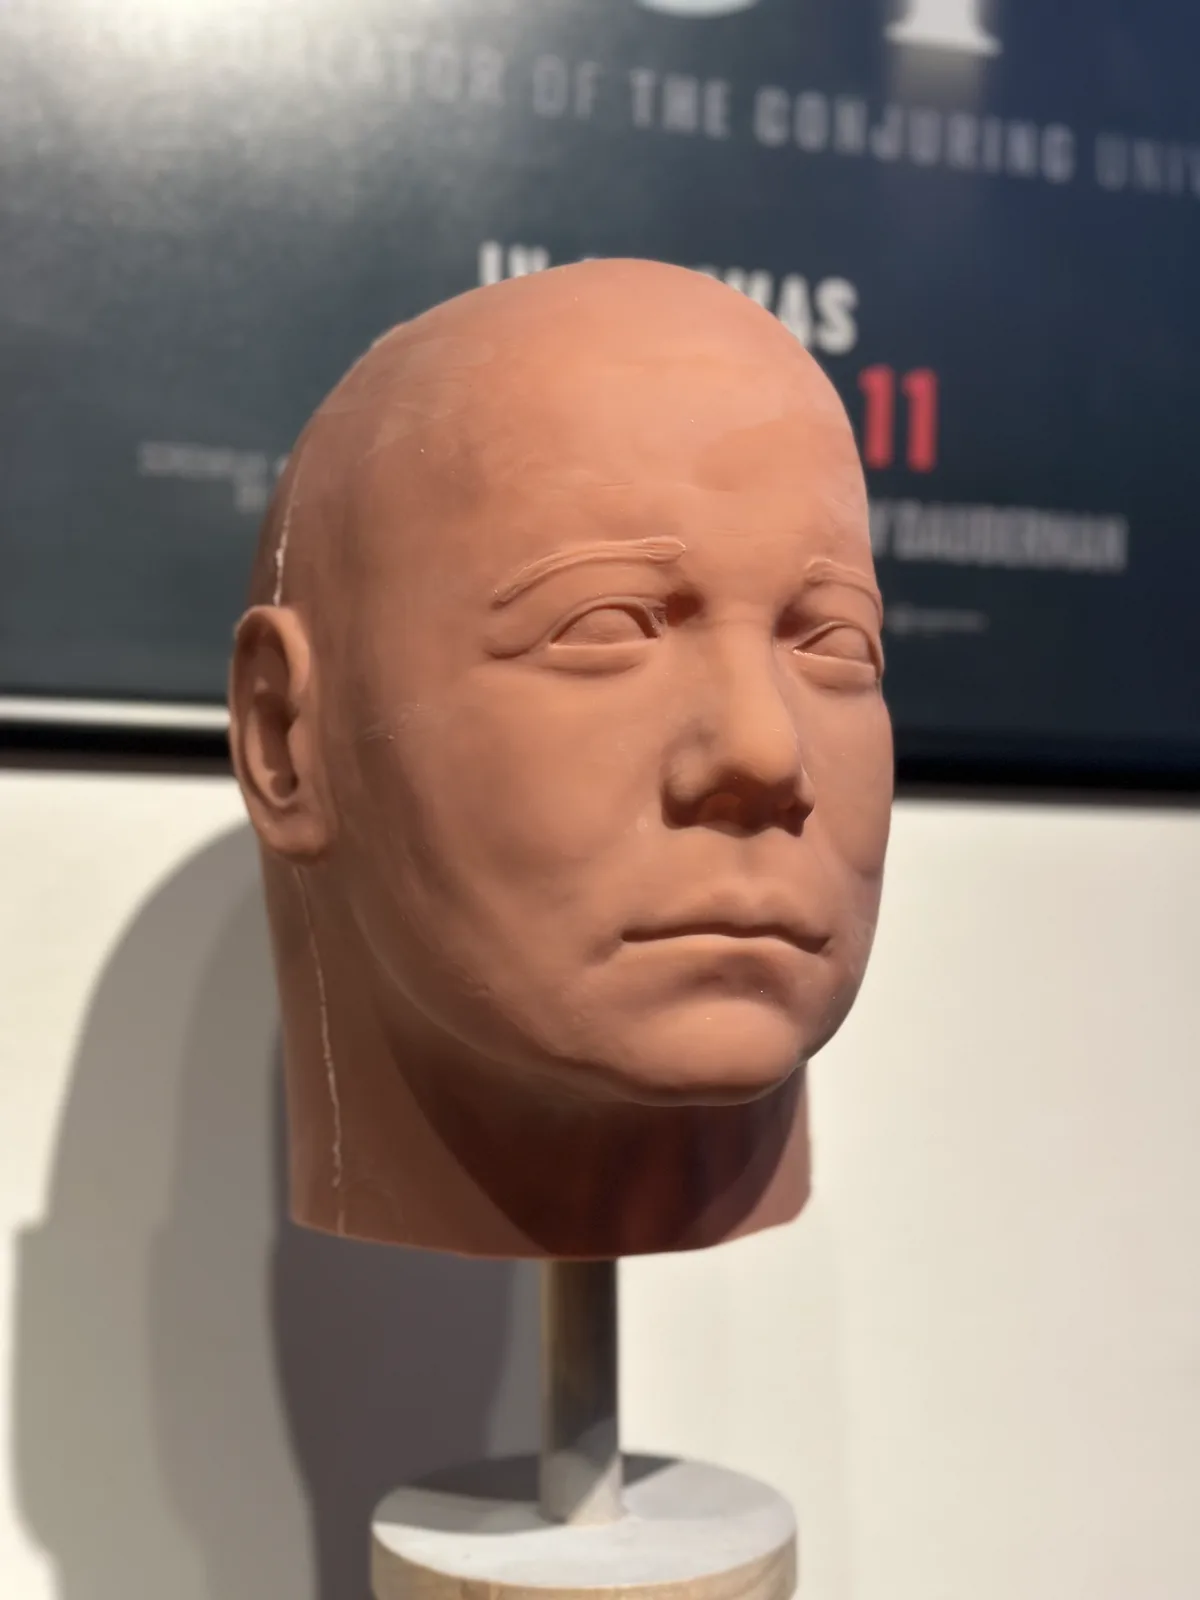
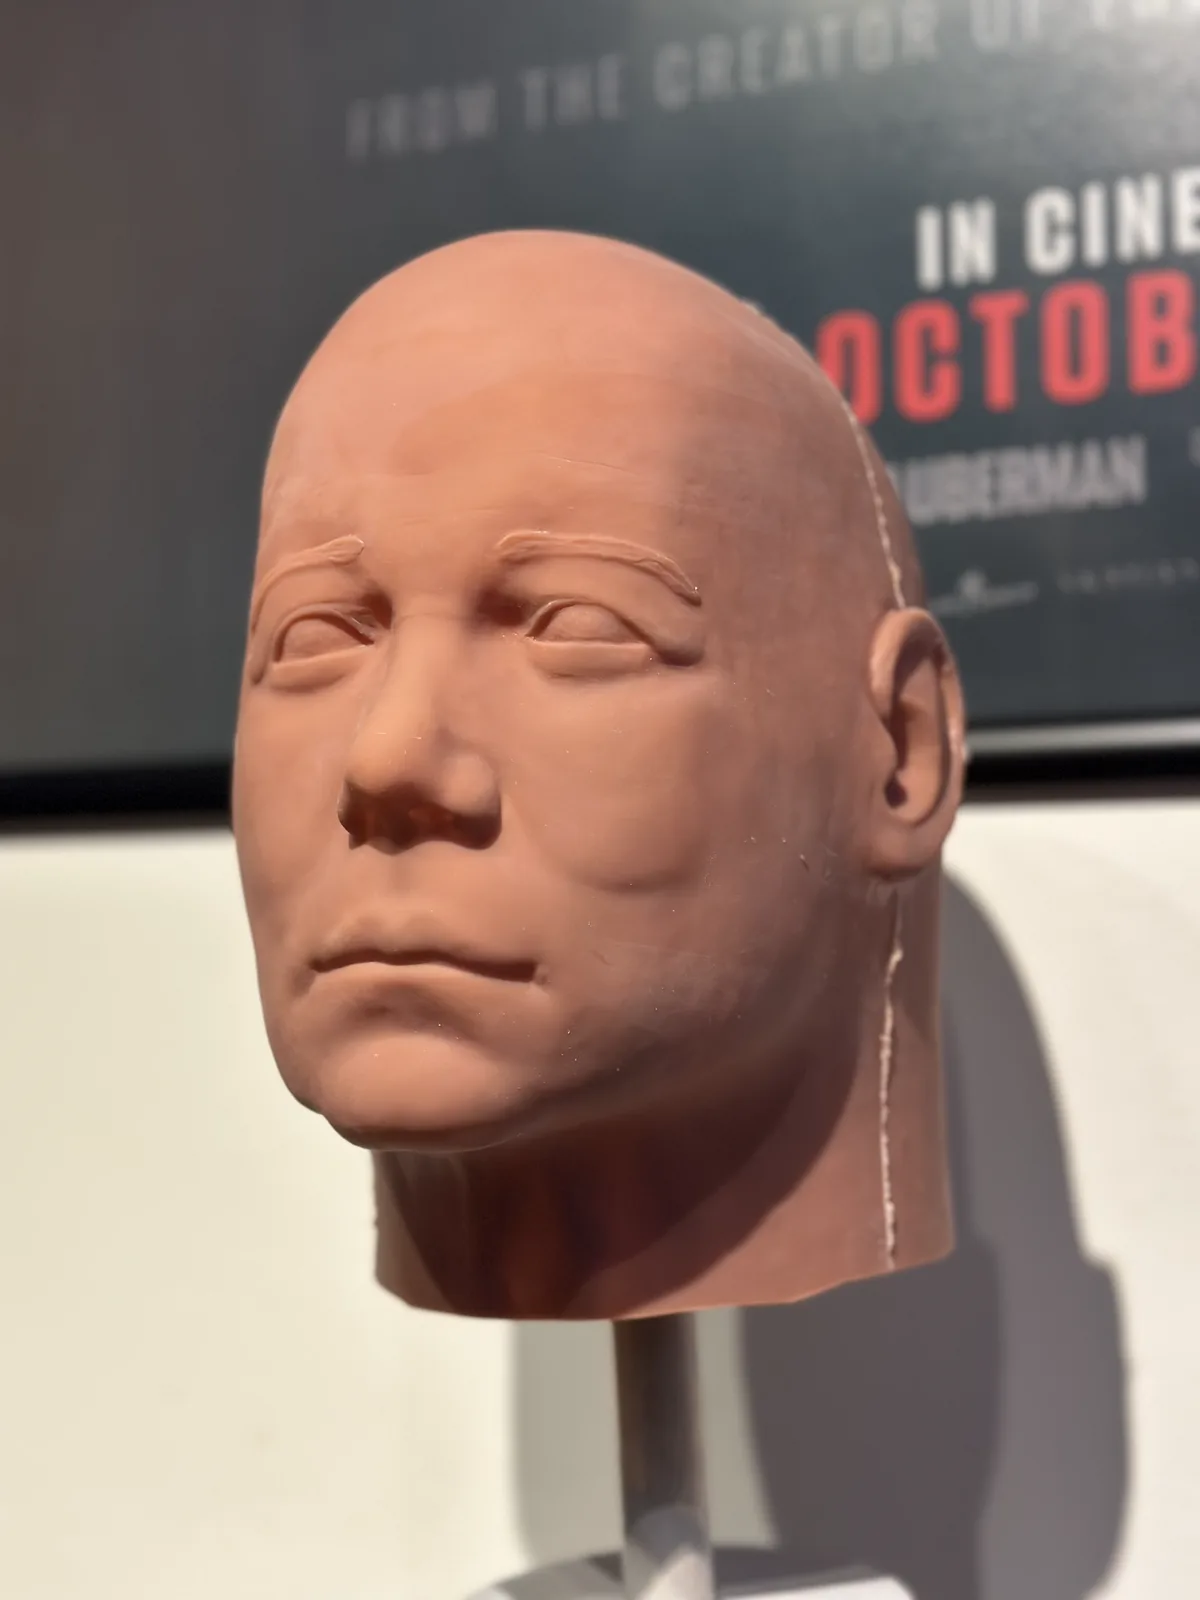
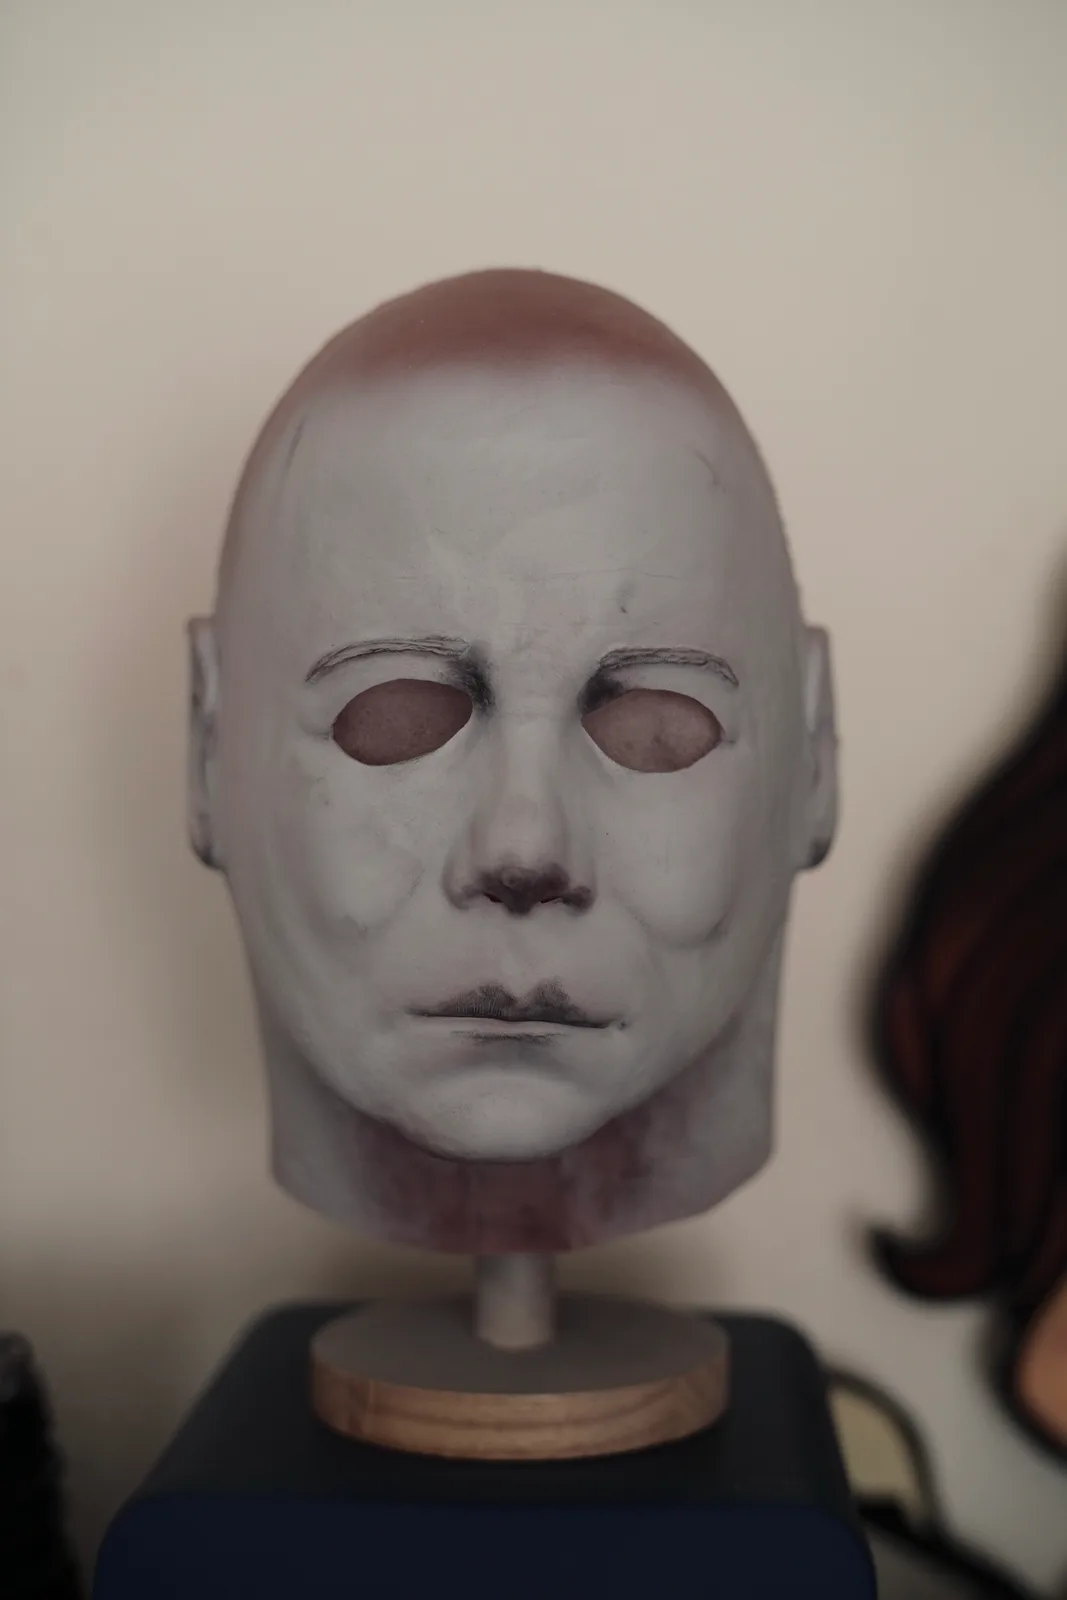
This Cosmic Shape 78 mask is being documented as it comes together, starting with the blank stage. At this point the main forms are already carrying the character: the brow, cheek breaks, mouth line and head shape are all there before any paint, hair or finishing work starts to change the read.

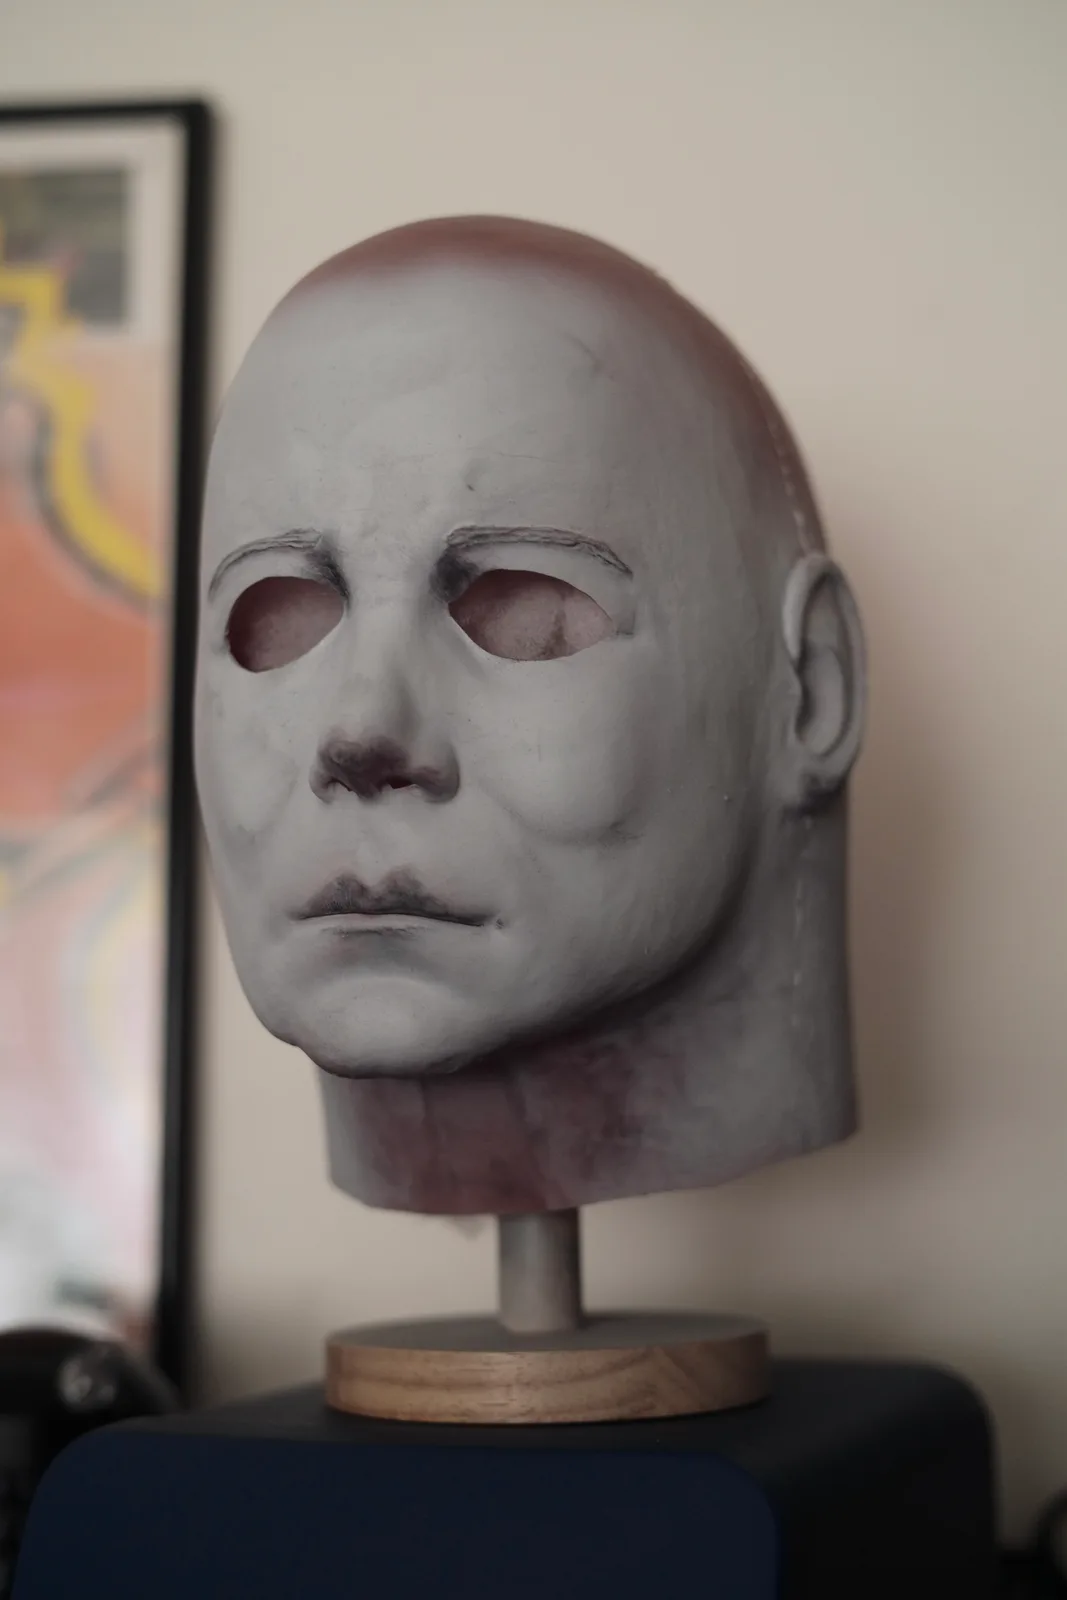
A blank like this has to work from more than one angle. The front view shows the overall expression, while the three-quarter views make it easier to judge how the cheek and brow roll around the face. Those forms will matter once the eye openings are cut and the mask starts moving toward the next stages of finish.
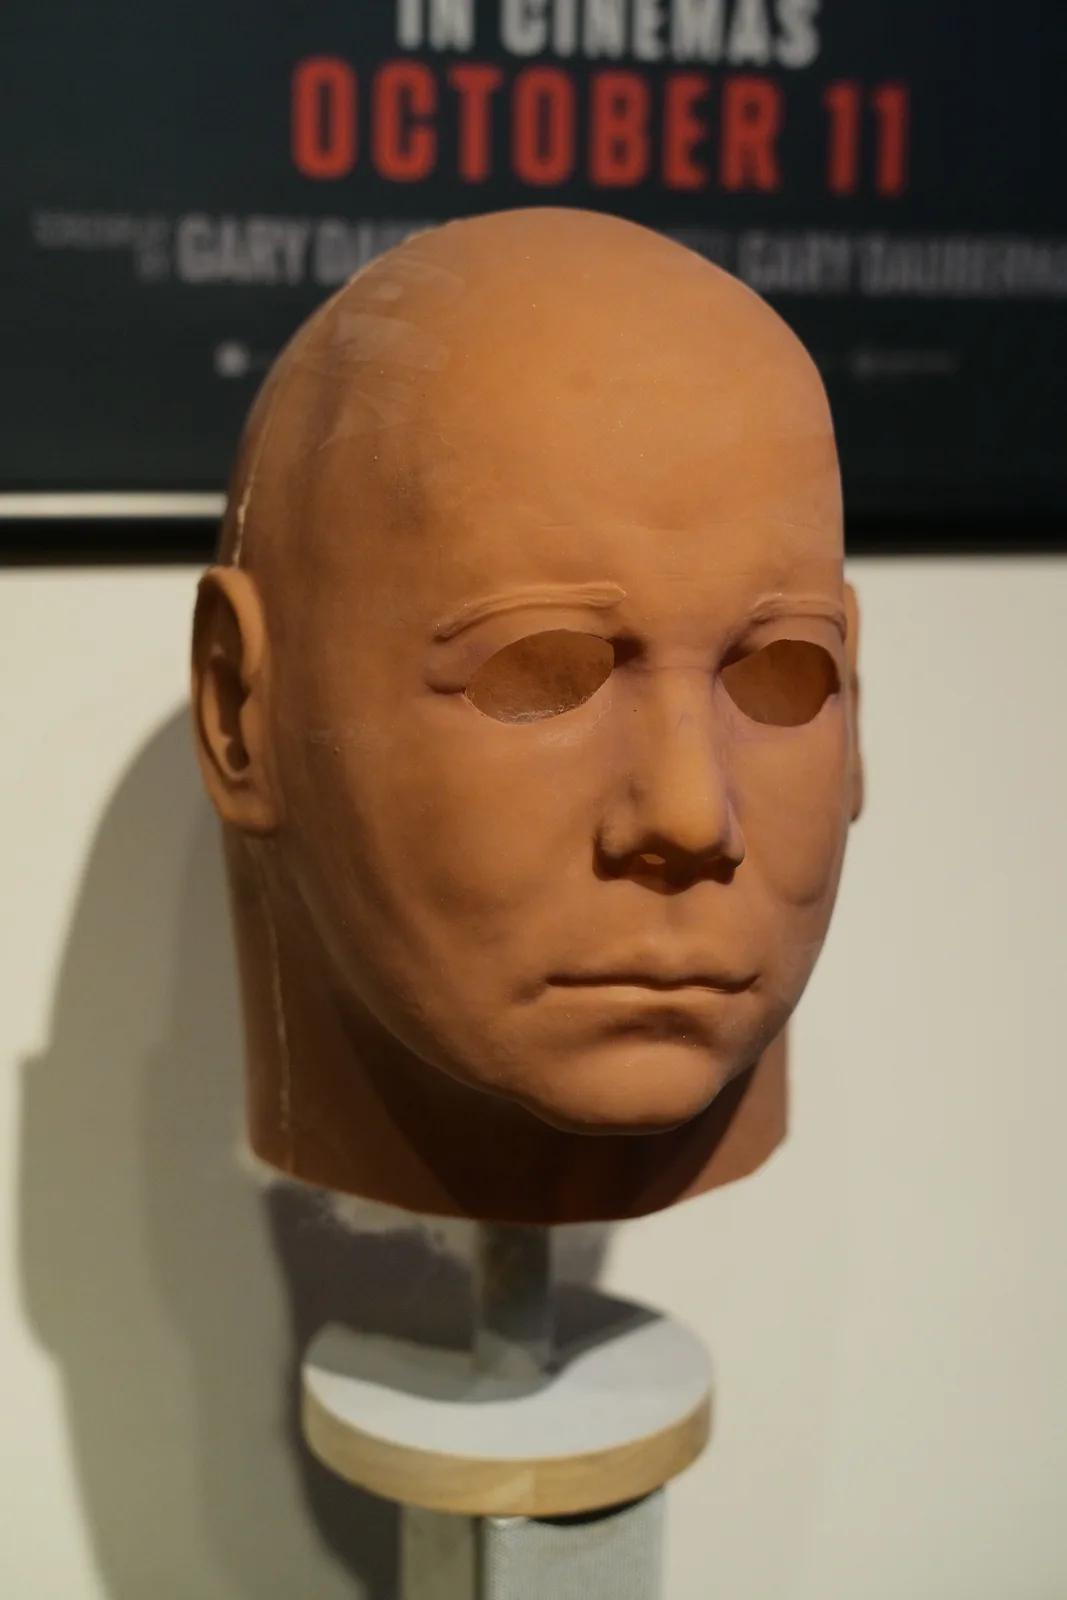
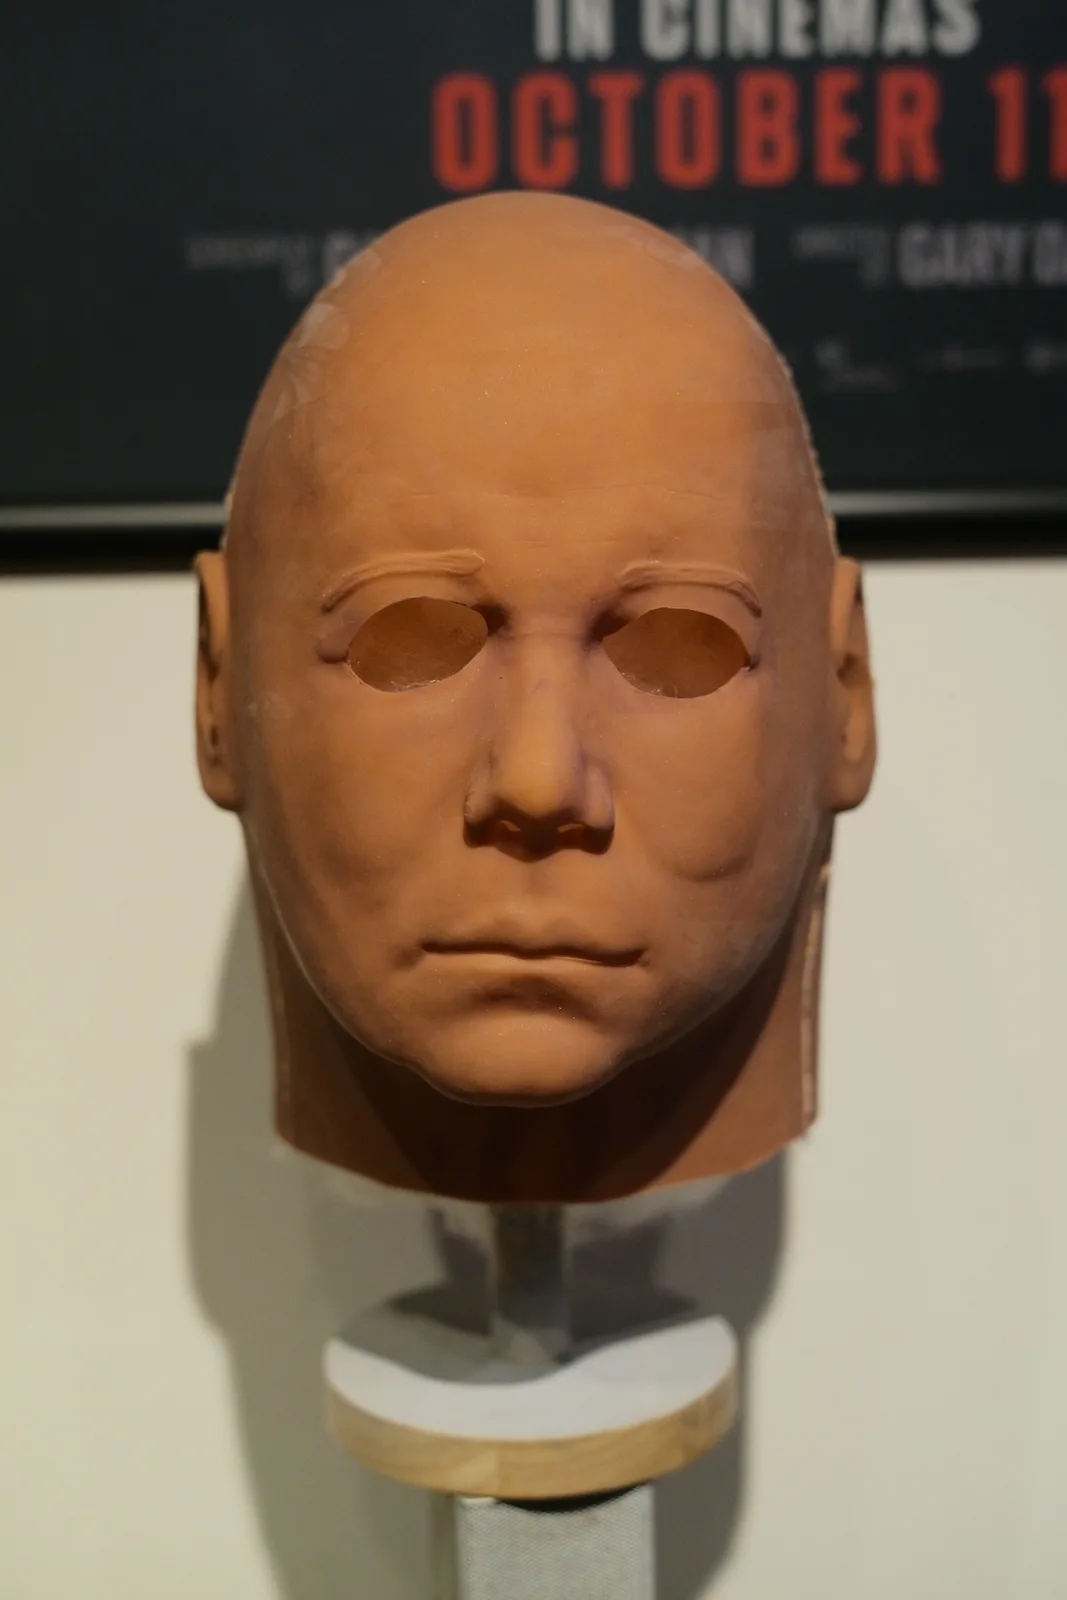
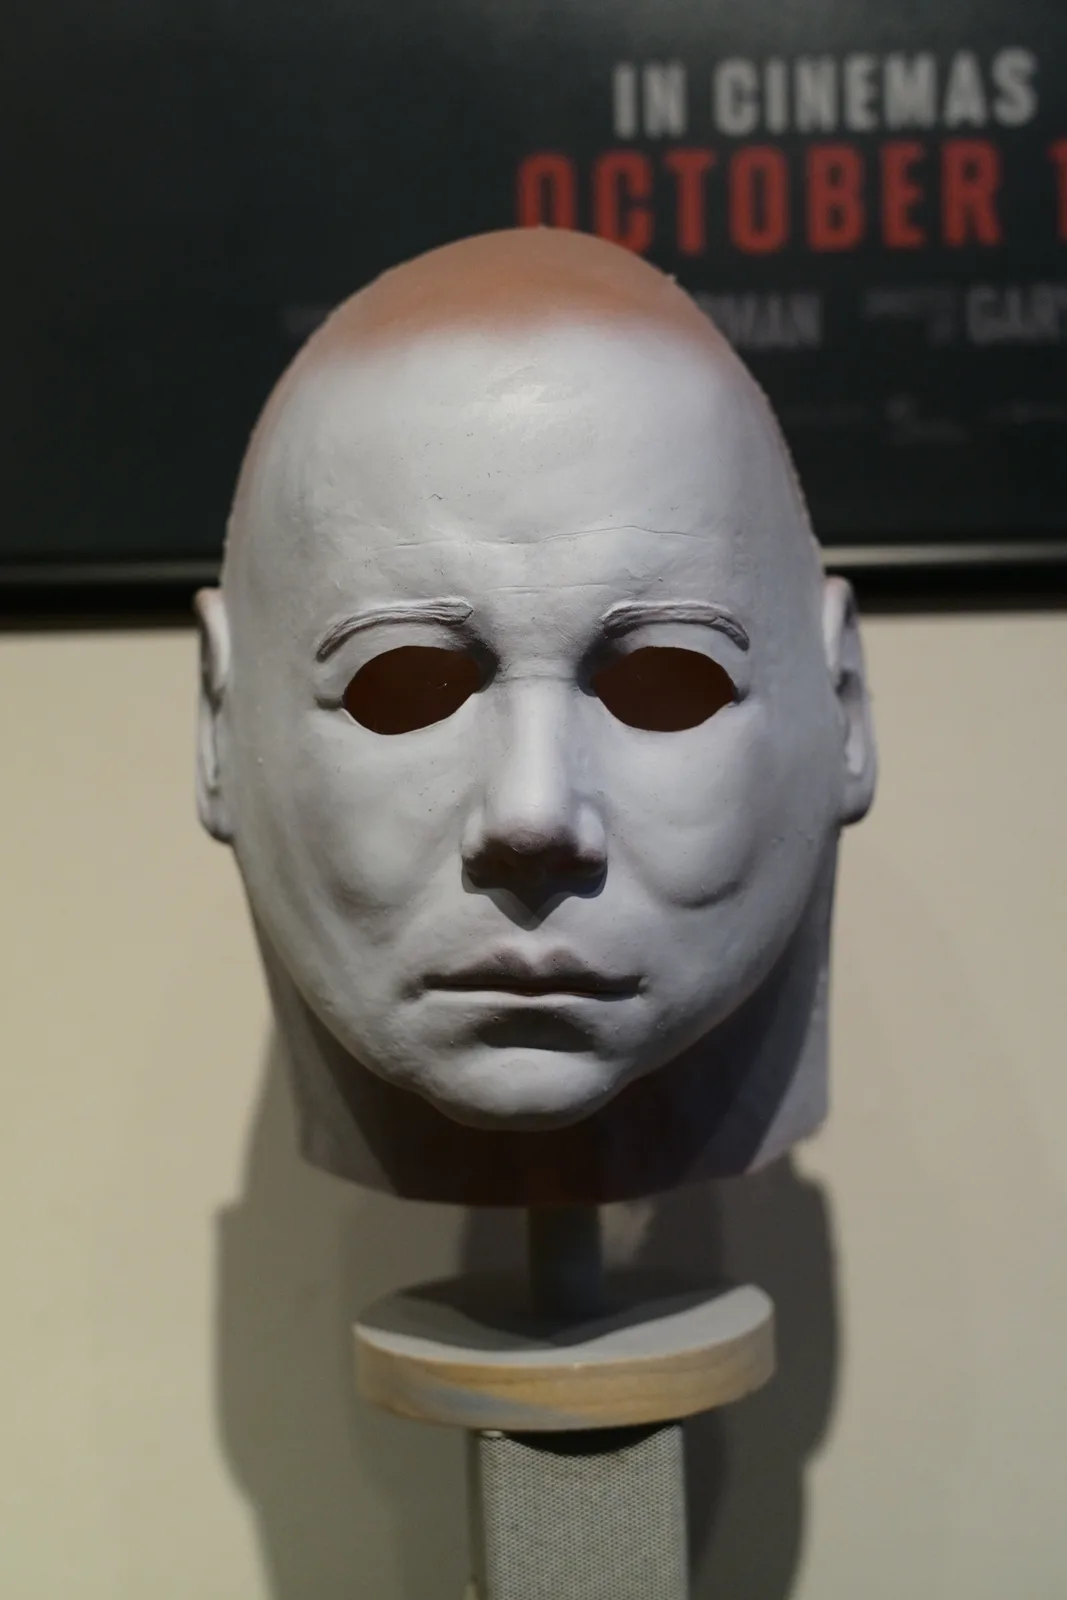
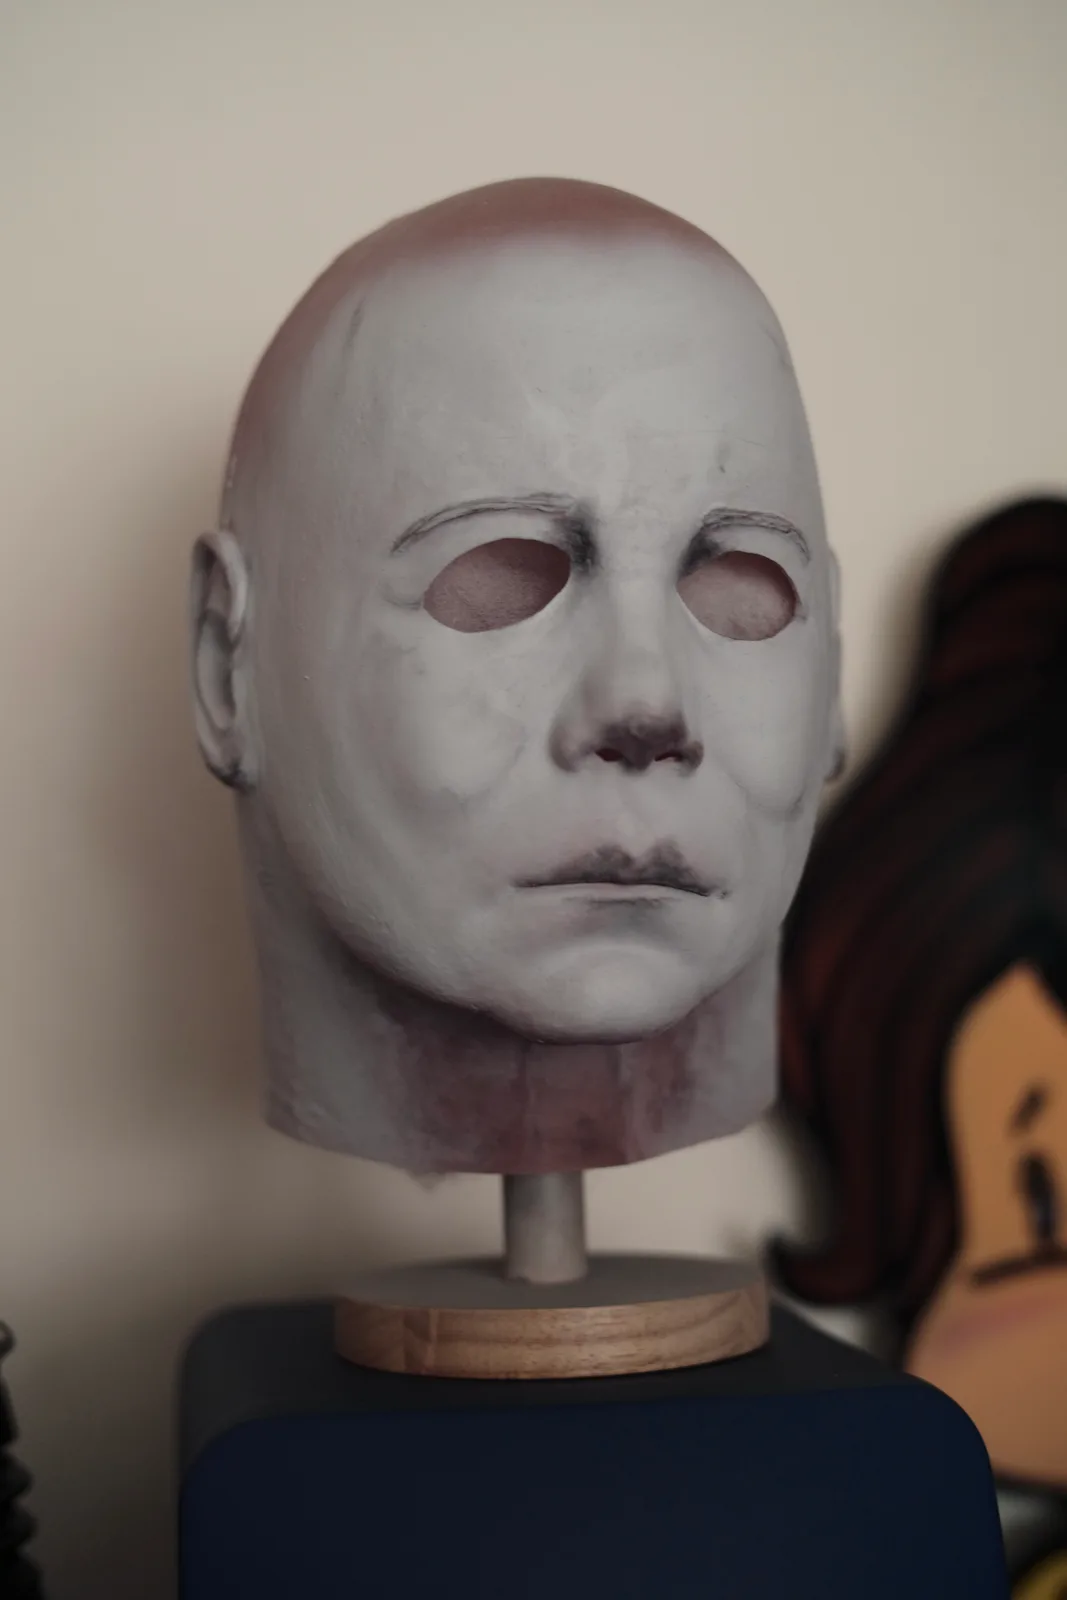
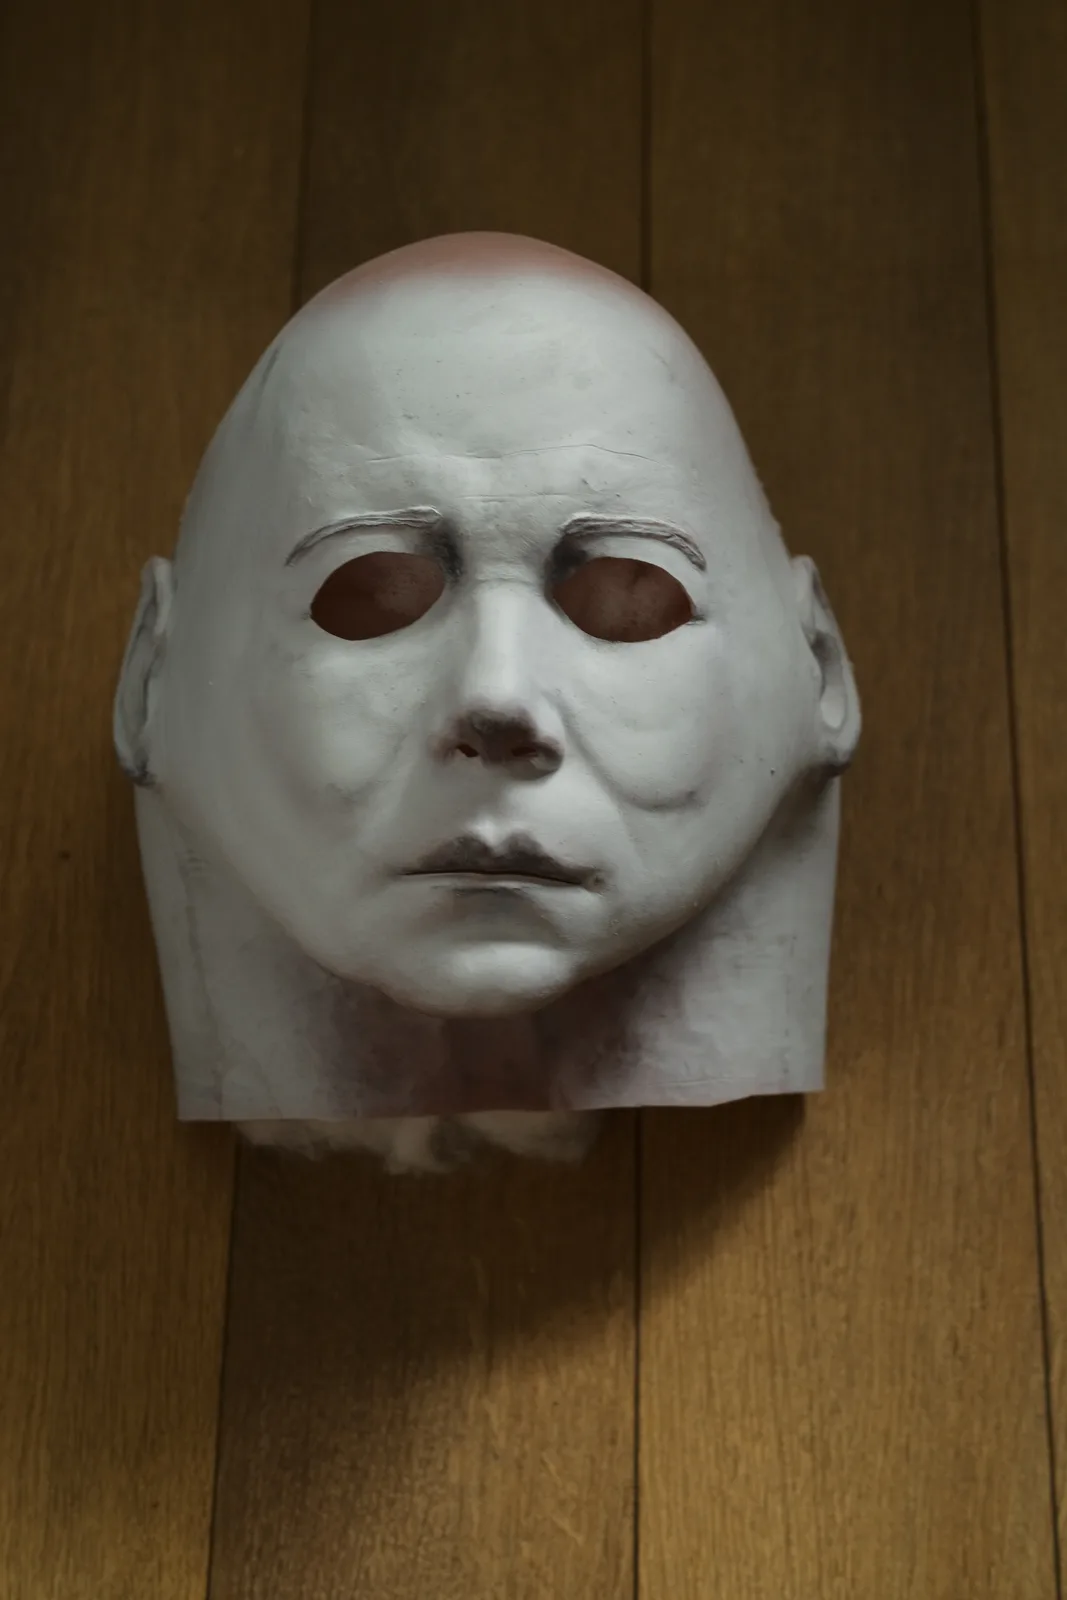
Eye cuts started

The eye cuts have now been done. This is one of the first moments where the blank starts to change from a solid sculpted face into something that reads more like the final mask. The openings affect the expression immediately, especially around the brow and upper cheek.

Dark Labs Cosmic Shape 78 mask after eye cuts from a three-quarter right angle
Three-quarter view after the first eye cuts.
Dark Labs Cosmic Shape 78 mask front view after the eye cuts
Front view showing how the eye cuts change the blank expression.
Dark Labs Cosmic Shape 78 mask after eye cuts from a three-quarter left angle
Opposite angle for checking the cut shape against the brow and cheek.

Paint and rub-off before weathering

The next stage is adhesion promoter and paint, with rub-off in key areas before the weathering starts. This gives the mask its first layer of finish while still leaving room for the dirt, age and surface work that will come later.
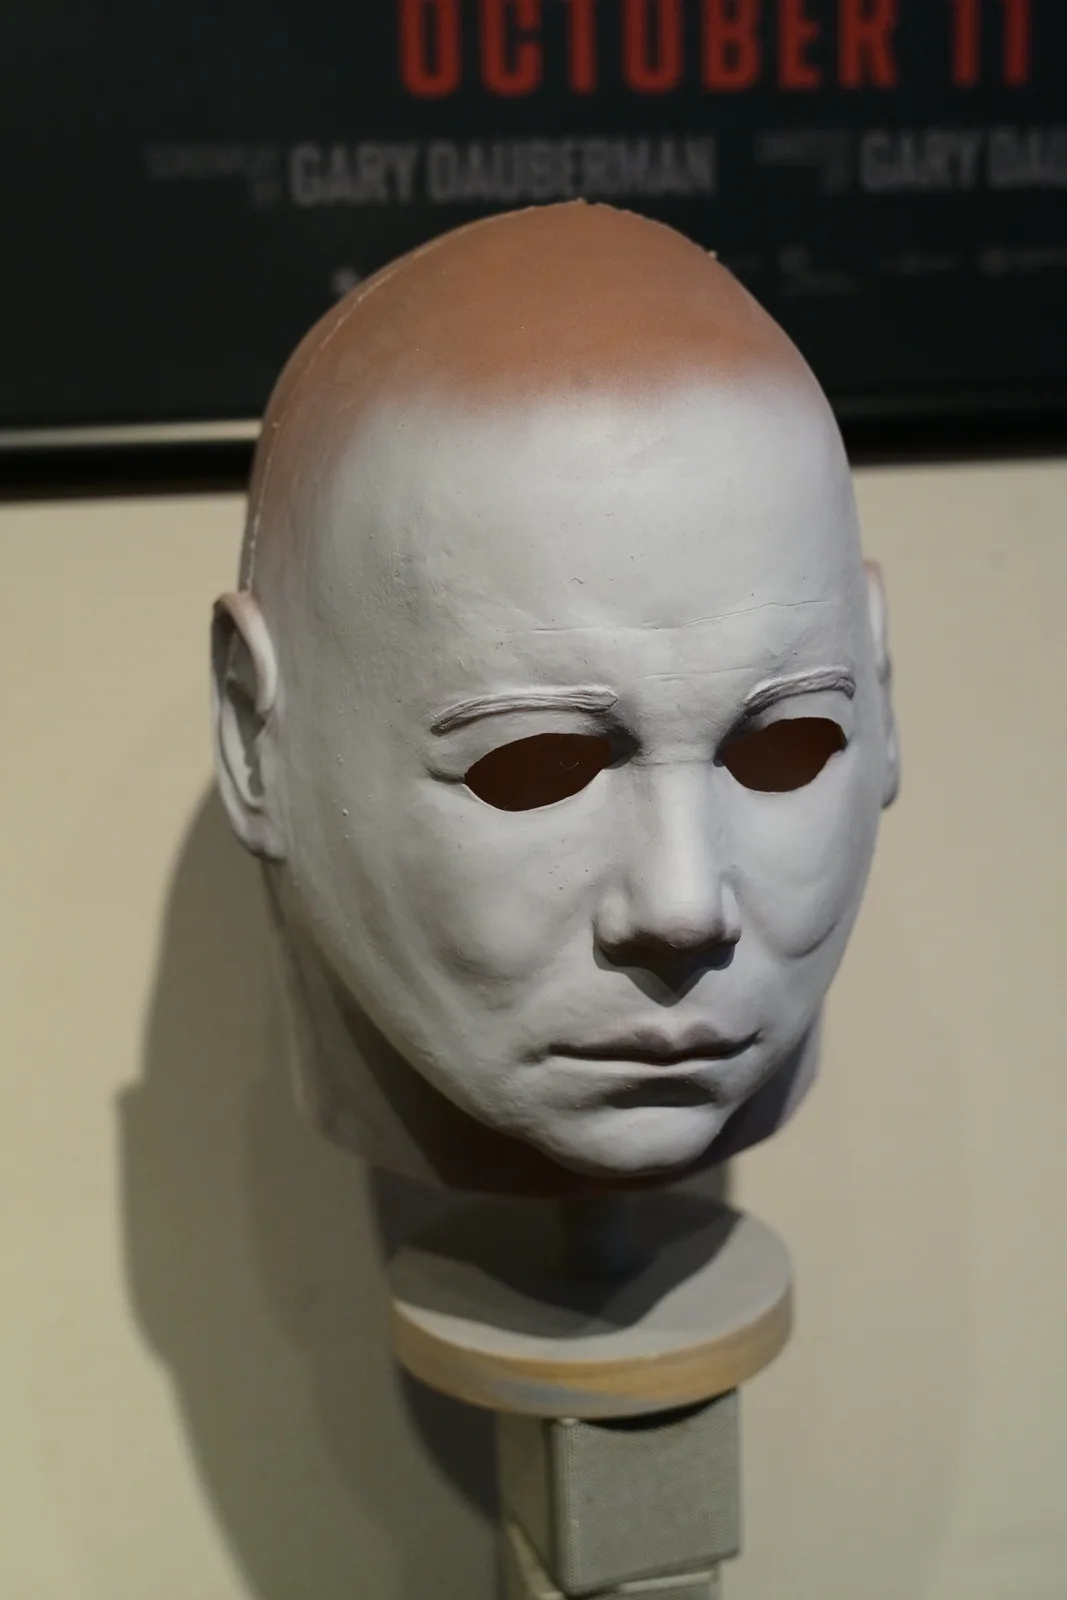
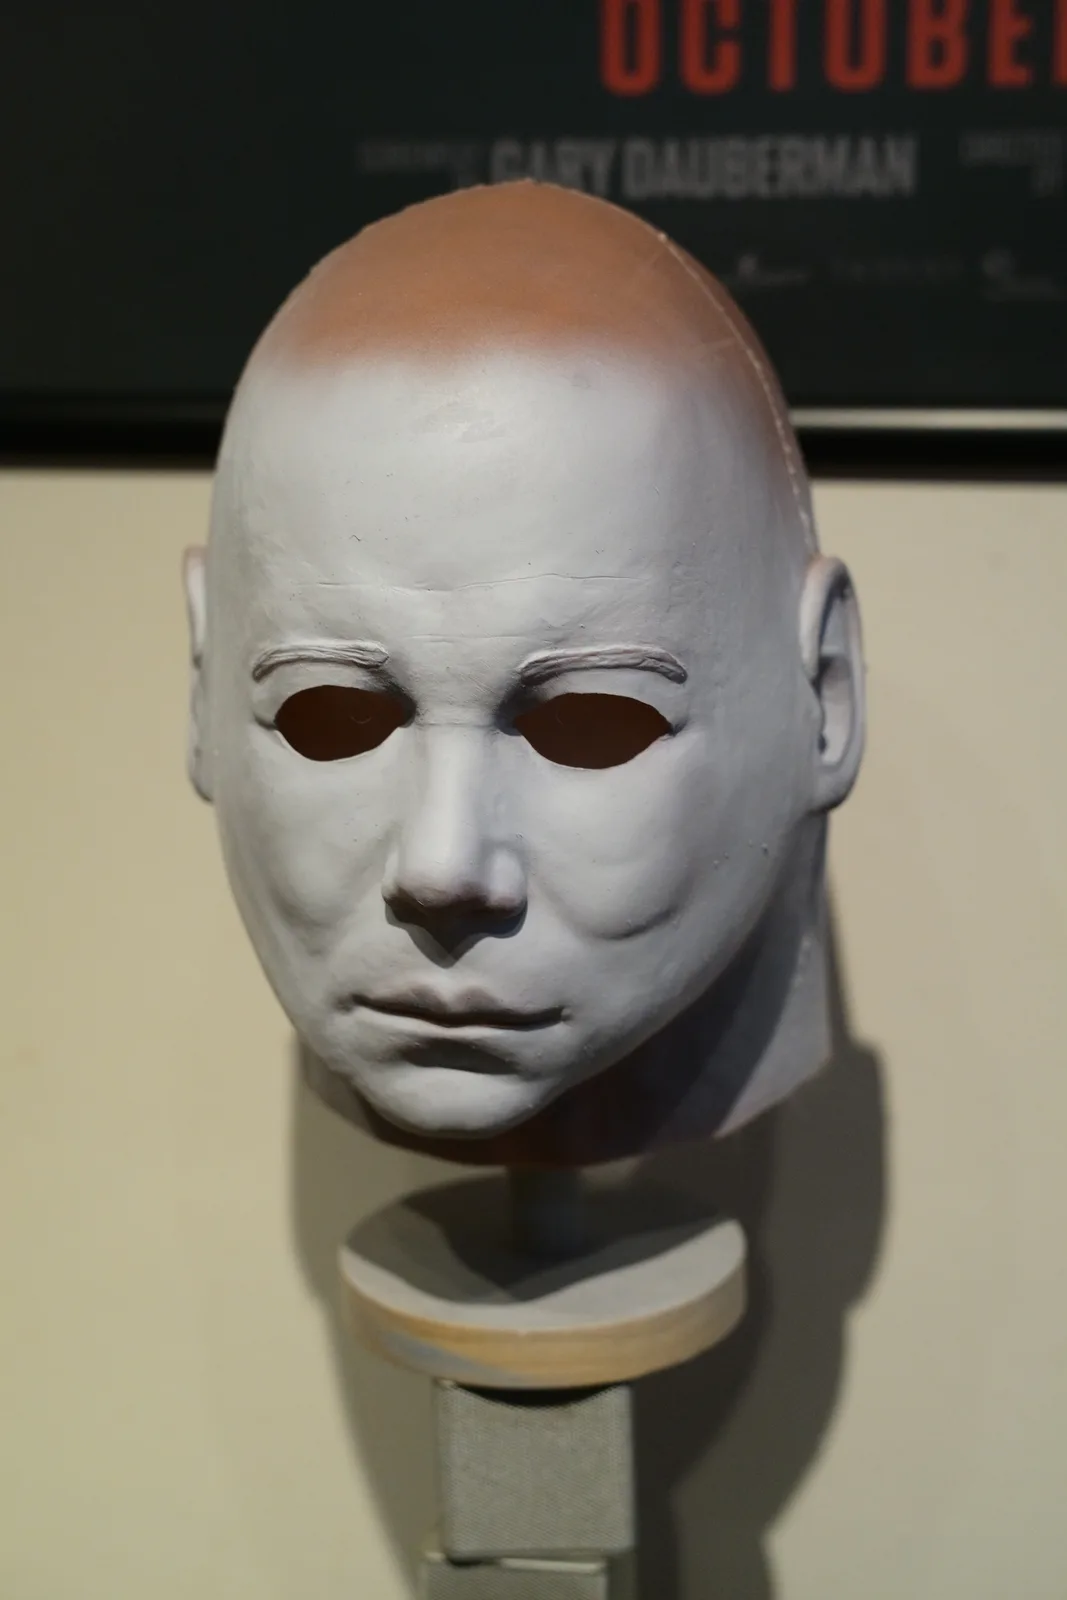
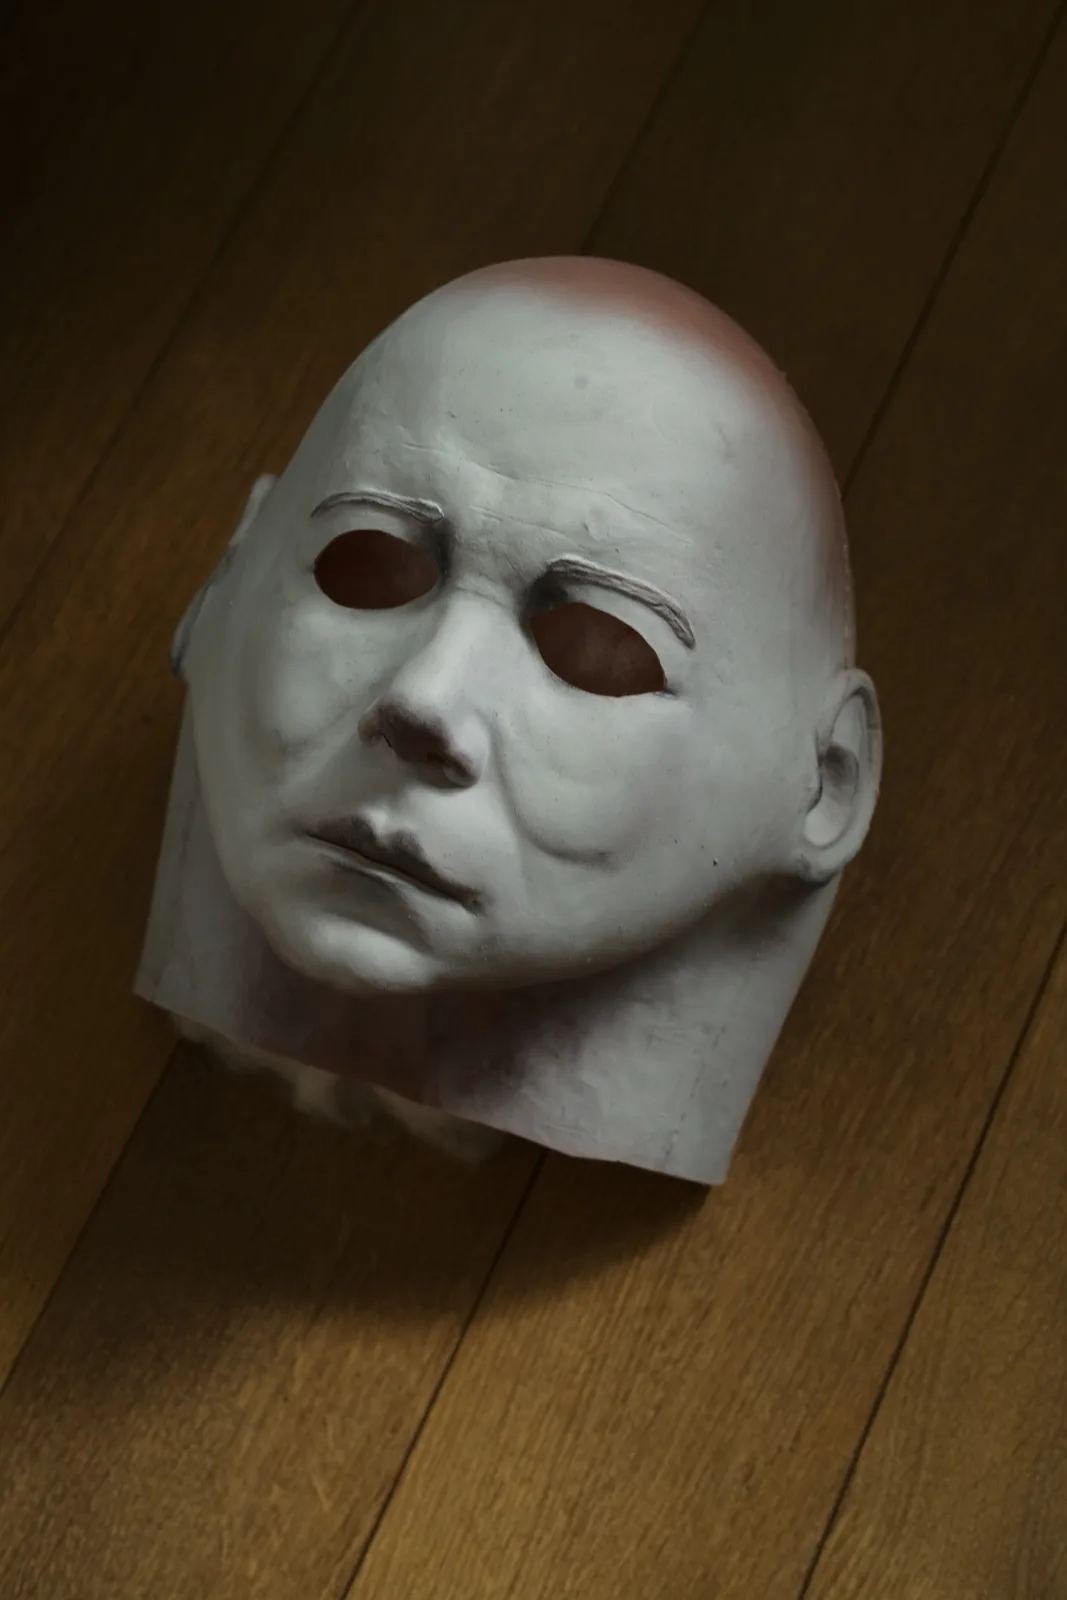
Dark Labs Cosmic Shape 78 mask front view with adhesion promoter and paint before weathering
Front view with adhesion promoter and paint added, before weathering.
Dark Labs Cosmic Shape 78 mask three-quarter view with rub-off areas before weathering
Rub-off beginning to show in key areas across the forehead, brow and face.
Dark Labs Cosmic Shape 78 mask painted stage from an opposite angle before weathering
Opposite angle before the main weathering pass.

Weathering added

With the paint dry, weathering has been added back into the areas where the rub-off was previously done. The character is really taking shape now. The paint job is ready to be sealed next, then the mask can move on to the hair laying stage.

Dark Labs Cosmic Shape 78 mask front view after dry paint and weathering
Front view after the paint has dried and the weathering has been worked in.
Dark Labs Cosmic Shape 78 mask three-quarter view with weathering in rub-off areas
Three-quarter view showing the weathering where the rub-off had already opened up the finish.
Dark Labs Cosmic Shape 78 mask opposite angle after weathering before sealing
Opposite angle as the character starts to settle into the paint work.
Dark Labs Cosmic Shape 78 mask on the floor showing weathered face and brow detail
Low angle on the mask after weathering, before the paint job is sealed.
Dark Labs Cosmic Shape 78 mask front low angle after weathering
Front low angle showing the darker areas around the eyes, mouth and neck.
Dark Labs Cosmic Shape 78 mask angled low view after weathering
Final angle for this stage before sealing and moving on to laying hair.

More stages to come

This post will keep following the Cosmic Shape 78 as more progress photos are added. From here, the paint job needs sealing before the mask moves into hair laying and final finishing, with each stage changing the personality of the mask a little more.